Drawing a bird can seem challenging. But it’s easier than you think.
With basic steps, anyone can learn to draw a bird. Drawing is a great way to express creativity. Birds are beautiful creatures, making them perfect subjects for art. Whether you’re a beginner or have some experience, learning to draw a bird is fun and rewarding.
This guide will help you understand the process step-by-step. You’ll learn to capture the bird’s shape, features, and details. By the end, you’ll have a lovely bird drawing to be proud of. So, grab your pencils and let’s get started!
Materials Needed
Before you start drawing a bird, gather the necessary materials. Having the right tools and reference images will make the process smoother and more enjoyable. Let’s dive into what you need.
Drawing Tools
To draw a bird, you will need basic drawing tools. Start with a pencil. Choose a medium-soft pencil, like an HB or 2B. These pencils create smooth lines and are easy to erase.
Next, get an eraser. A kneaded eraser works best. It allows you to shape it for precise erasing. You will also need paper. Use sketch paper or any paper with a slight texture.
Finally, you might want a ruler. A ruler helps with straight lines and proportions. You may also use colored pencils or markers for adding color.
Reference Images
Reference images are crucial for accuracy. Find clear pictures of birds. Use photos from books, magazines, or the internet. Look for images showing different angles.
Observe the bird’s shape, feathers, and colors. This will help you understand its structure. Print or save these images for easy access while drawing.
Using reference images will improve your drawing. It ensures you capture the bird’s details correctly. So, gather a variety of pictures before you start.
Choosing Your Bird
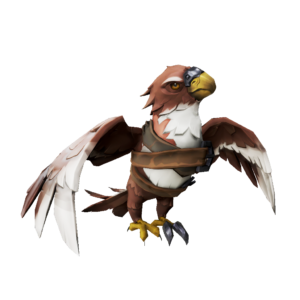
Drawing a bird can be a delightful experience. Choosing the right bird to draw is important. It sets the tone for your artwork. Different birds have different shapes and features. Each bird offers unique challenges and rewards. Follow these tips to select your ideal bird.
Bird Species
Start by selecting the species of bird you want to draw. There are many species to choose from. Some common options include:
- Sparrows: Small and simple, ideal for beginners.
- Eagles: Majestic with detailed feathers, suitable for advanced artists.
- Parrots: Vibrant colors and interesting shapes.
- Owls: Unique eyes and feathers, great for those who love detail.
Choose a bird that matches your skill level. If you are new, start with simpler birds. Experienced artists might enjoy more complex species.
Pose And Position
Next, decide on the pose and position of your bird. Think about how you want your bird to be seen. Here are some ideas:
- Perched: A bird sitting on a branch. This pose is common and easy to draw.
- Flying: A bird in motion. This can be challenging but looks dynamic.
- Preening: A bird grooming its feathers. This shows interesting details.
- Standing: A bird on the ground. This is a straightforward pose.
Consider the angle of your drawing. Do you want a side view or a front view? Each angle offers different details. Experiment with various poses to see what works best.
Choosing the right species and pose is crucial. It influences the overall feel of your drawing. Make sure to pick something that excites you. Happy drawing!
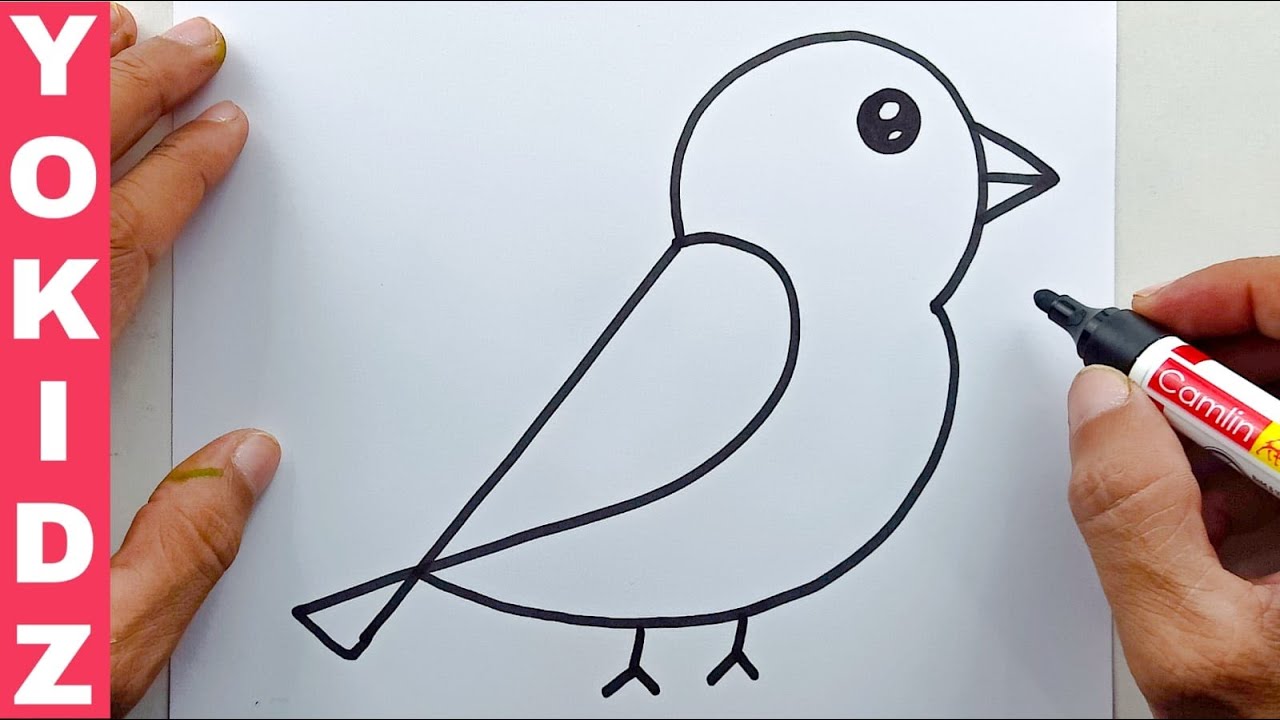
Basic Shapes
Learning how to draw a bird starts with understanding basic shapes. By breaking down the bird’s body into simple geometric forms, you can create a strong foundation for your drawing. This method simplifies the process and helps you achieve more accurate proportions.
Drawing The Body
To draw the bird’s body, begin with an oval shape. The oval should be slightly elongated to represent the bird’s natural form. This shape will serve as the main part of the bird’s body.
Here is a step-by-step guide:
- Draw a horizontal oval. This will be the bird’s torso.
- Ensure the oval is slightly tilted to give a dynamic pose.
- Add a small circle at the bottom of the oval. This will be the guide for the tail.
Take your time to get the shape right. The body is the largest part of the bird and sets the stage for the rest of the drawing.
Adding The Head
Next, draw the bird’s head by adding a circle. The circle should be smaller compared to the oval body. Position it at the top end of the oval.
Follow these steps:
- Draw a small circle above the oval. This is the head.
- Connect the circle to the oval with two curved lines. These lines will form the neck.
- Ensure the circle is slightly overlapping the oval. This creates a natural transition between the head and body.
Now, refine the connection between the head and body. Smooth out the lines to make them look more natural. With the head and body in place, you have the basic structure of your bird.
By breaking down the bird into basic shapes, you make drawing easier and more accurate. Keep practicing these steps until you feel comfortable with the shapes.
Credit: cecilieo.com
Sketching The Outline
Creating a bird sketch starts with a simple outline. Begin with basic shapes. Use a pencil for easy corrections. This will form the bird’s basic structure. Let’s break it down step by step.
Wings And Tail
First, draw the bird’s body. A simple oval will do. Next, add the wings. Use curved lines to show feather flow. Draw one wing at a time. Make them symmetrical. Then, sketch the tail. Use straight lines for feathers. The tail should fan out slightly. Keep it proportional to the body.
Feet And Beak
Now, add the feet. Draw two small ovals for the legs. Add lines for toes. Bird feet usually have three toes in front. And one toe at the back. Next, sketch the beak. Birds have different beak shapes. Choose a shape that fits your bird. Use a triangle or curved line. Keep it small and simple. It should be proportional to the head.
By following these steps, you will have a solid bird outline. Remember, practice makes perfect. Keep your lines light and easy to erase. This helps in refining your sketch. Soon, you will have a beautiful bird drawing.
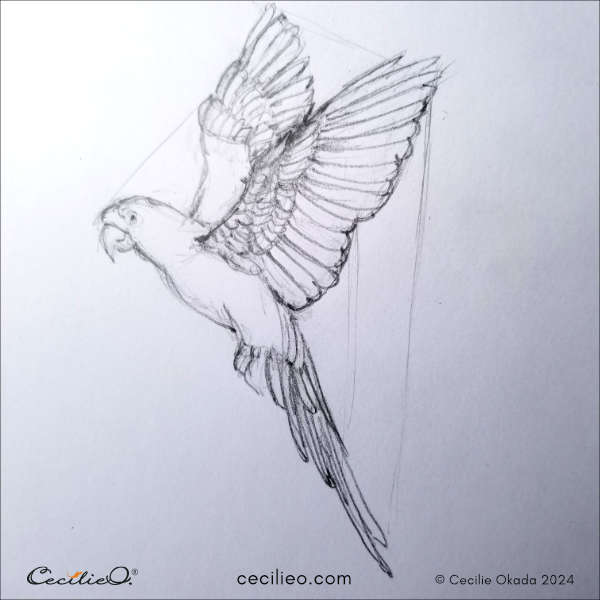
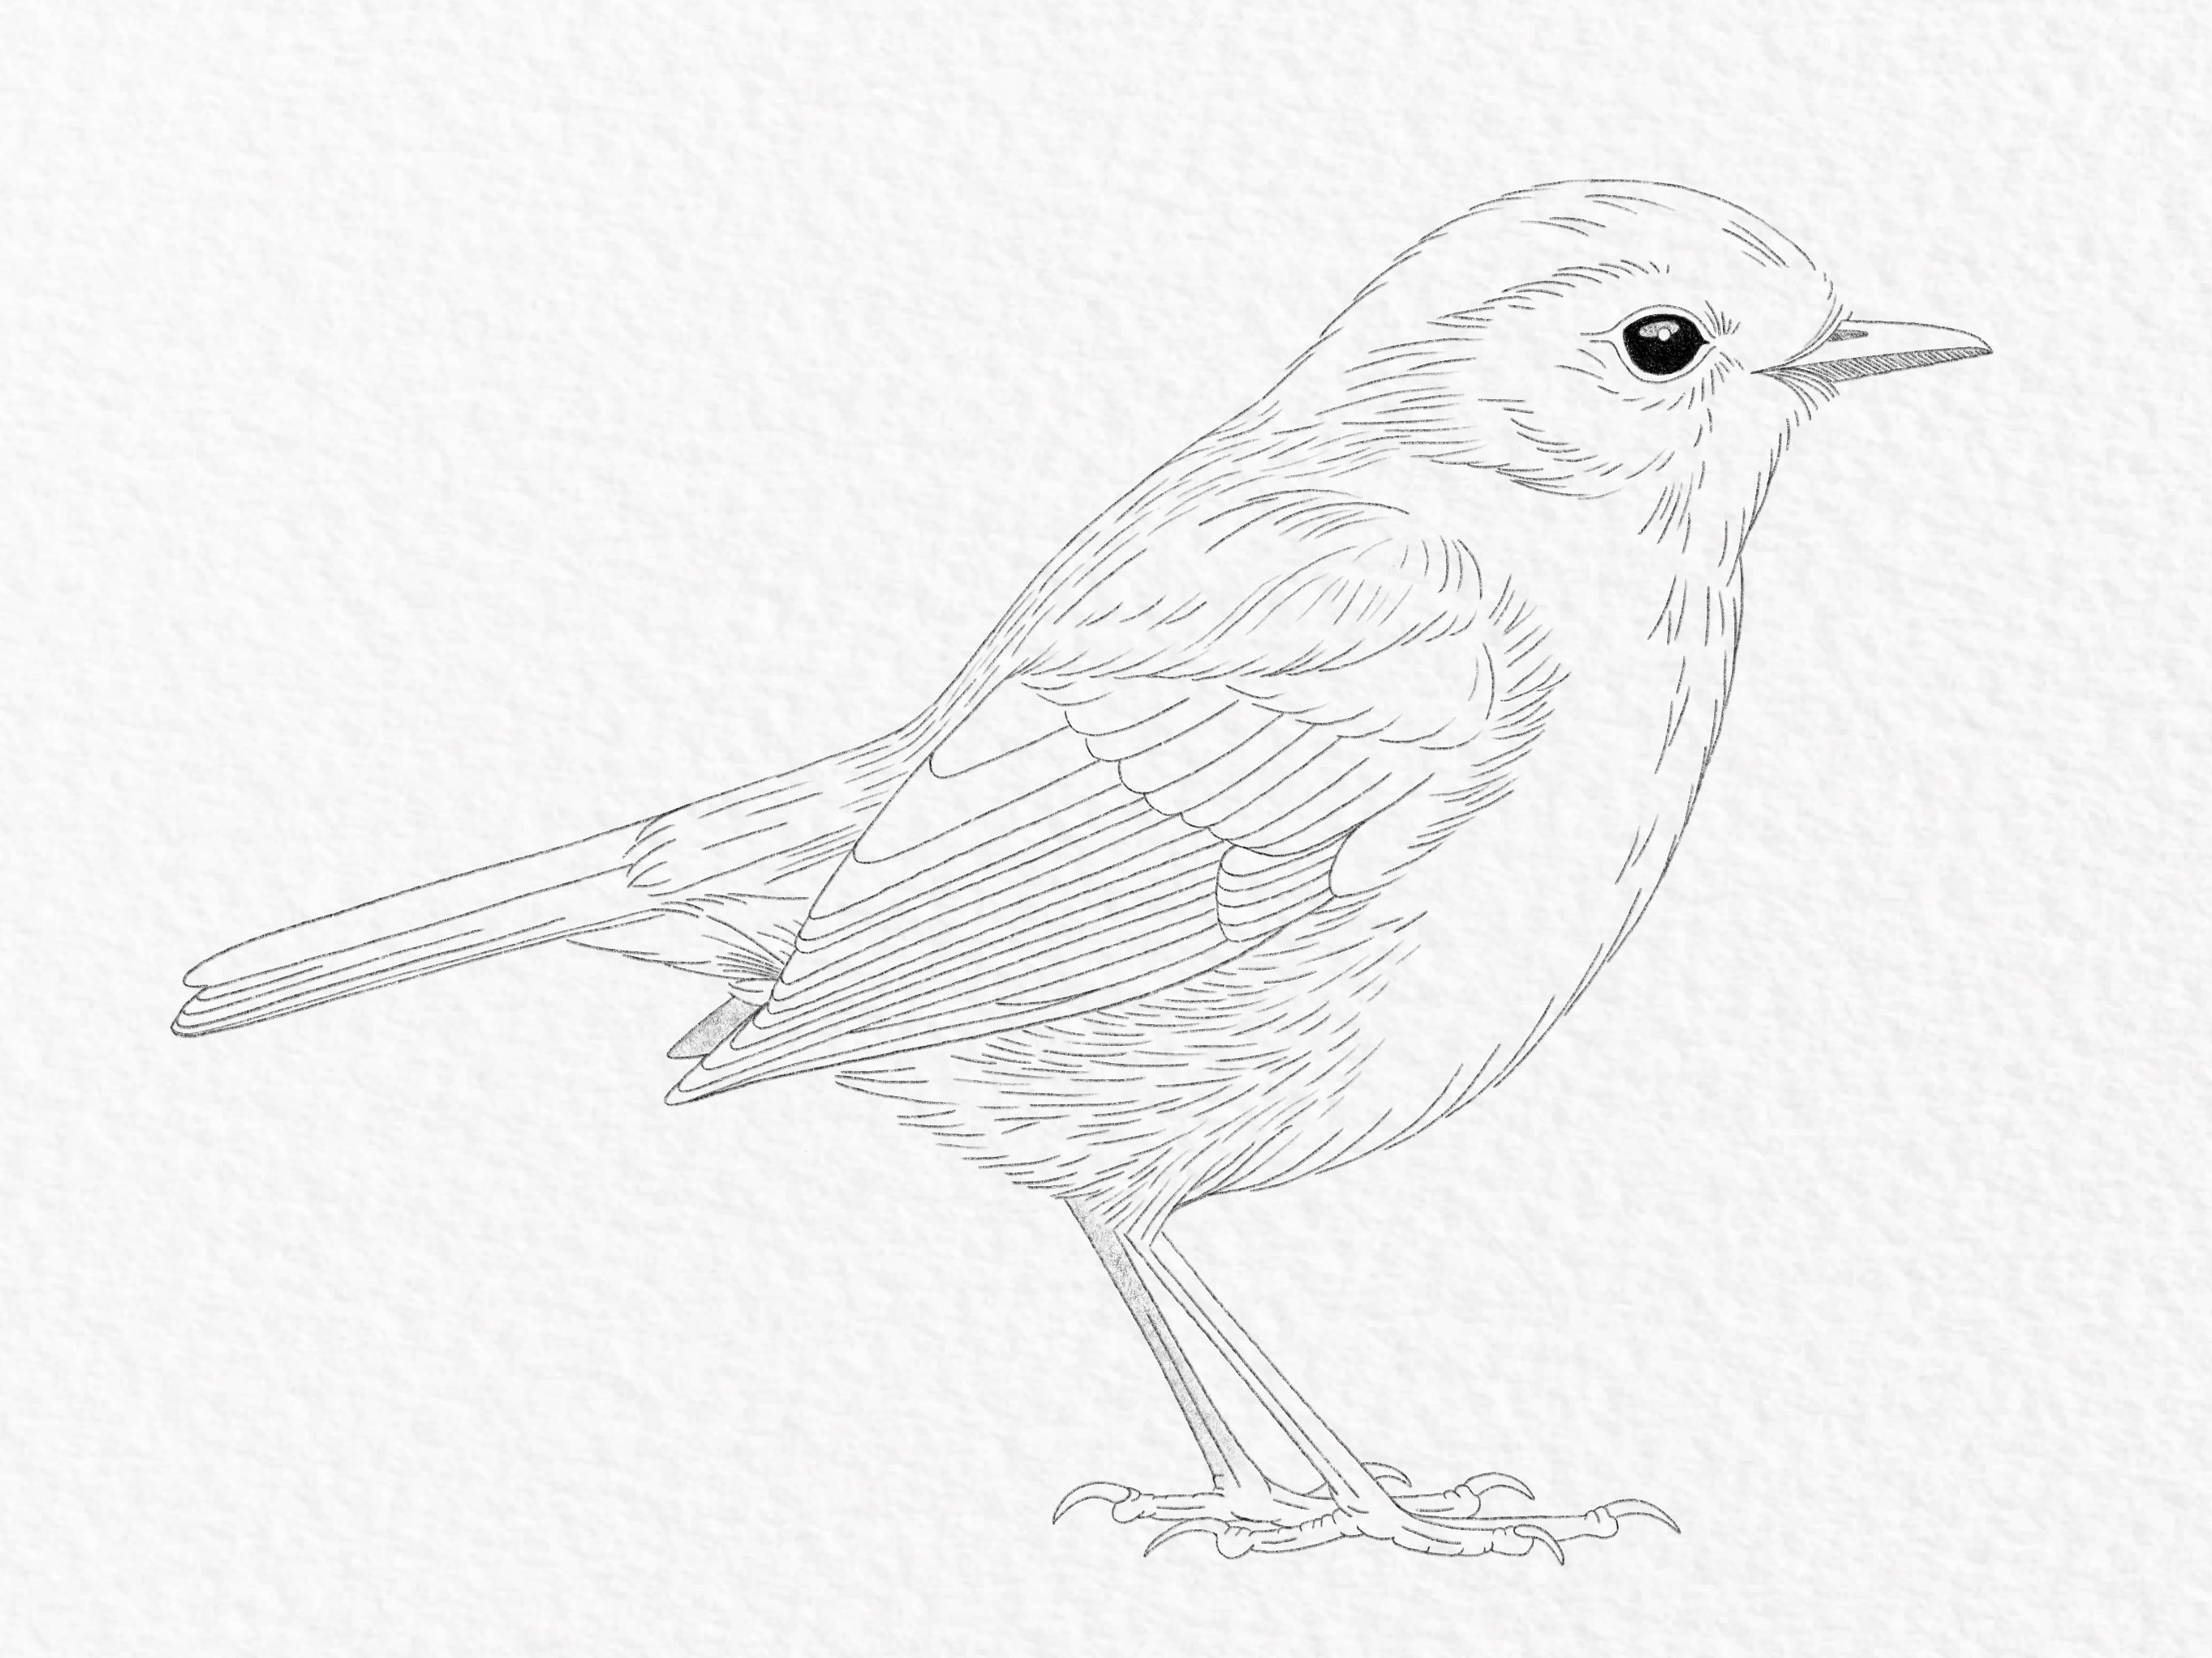
Adding Details
Adding details to your bird drawing can bring it to life. This stage involves refining the basic shape and giving your bird a realistic look. Focus on the texture of feathers and distinct facial features. These elements add depth and character to your artwork.
Feather Texture
Feathers give birds their unique appearance. Start by drawing small, curved lines. These lines should follow the bird’s body shape. Use light strokes to create a soft, feathery look. Vary the direction of the lines to make the feathers look natural.
For the wings, add more detail. Draw overlapping lines to show layers of feathers. Pay attention to the feather patterns. Birds like eagles have distinct feather arrangements. Observe real bird photos for inspiration.
Facial Features
The face is crucial for capturing the bird’s expression. Begin with the eyes. Birds have round or oval eyes. Draw a small circle and shade it lightly. Add a tiny dot for the reflection to make the eye look lively.
Next, focus on the beak. The shape of the beak varies by species. Draw it according to the bird you are illustrating. Add a slight curve to the beak for a realistic touch. Use short lines to show texture and depth.
Don’t forget the small details. Add tiny lines around the eyes and beak. These lines represent wrinkles and skin texture. They give your bird a more lifelike appearance.
Inking The Drawing
Inking your bird drawing adds depth and clarity. It transforms your sketch into a polished piece of art. This step requires patience and precision. Here, we will discuss how to outline the drawing and highlight important parts.
Outline Precision
Outlining is crucial. Use a fine-tipped pen for this step. Ensure your hand is steady. Trace over your pencil lines carefully. Avoid rushing. Slow and steady strokes yield the best results.
Begin with the bird’s main body. Outline the head, wings, and tail. Use light pressure to avoid thick lines. For small details, switch to a finer pen. This adds precision and keeps the drawing clean.
| Part | Recommended Pen |
|---|---|
| Main Body | 0.5 mm |
| Feathers | 0.3 mm |
| Small Details | 0.1 mm |
Highlighting Important Parts
Next, focus on highlighting important parts of the bird. These include the eyes, beak, and feather details. Use a slightly thicker pen for these areas. This adds emphasis and draws attention.
For the eyes, draw small, bold circles. Add a tiny white dot for a highlight. This gives the eyes life and sparkle. For the beak, outline the shape clearly. Use short, precise strokes for texture.
- Eyes: Small bold circles with highlights
- Beak: Clear shape with textured strokes
- Feathers: Varied line thickness for realism
Feathers require special attention. Use varied line thickness. This mimics the natural texture of feathers. Add shading with cross-hatching. This technique adds depth and dimension.
Remember to step back and review your work. Ensure all important parts are highlighted. This will enhance the overall appearance of your bird drawing.
Adding Color
Adding color to your bird drawing can bring it to life. The right colors and techniques can make your artwork vibrant and realistic. This section will guide you through choosing the perfect colors and blending them effectively.
Choosing Colors
The colors you choose can change the look of your bird. Start by observing real birds or bird photos. Notice the different shades and patterns. Use these observations to select your colors. For beginners, it’s good to start with basic colors:
- Blue: For bluebirds or peacocks.
- Green: For parrots or hummingbirds.
- Red: For cardinals or robins.
- Yellow: For canaries or goldfinches.
Keep a color wheel handy. It helps to know complementary and analogous colors. Complementary colors make your drawing pop, while analogous colors create harmony.
Blending Techniques
Blending colors makes your bird look more realistic. There are several methods you can use:
- Layering: Apply one color layer, then add another on top. This creates depth.
- Smudging: Use a blending tool or your finger to smooth colors. This removes harsh lines.
- Wet Blending: If using watercolors, blend colors while still wet. This creates soft transitions.
Experiment with different techniques. Practice makes perfect. Try using different paper types. Some papers blend better than others.
Remember, the key to a beautiful bird drawing is patience. Take your time to blend colors smoothly. Your drawing will be more vibrant and lifelike.

Credit: www.youtube.com
Final Touches
The final touches are the most exciting part of drawing a bird. You’ve already laid the groundwork, and now it’s time to bring your bird to life. This stage involves adding shadows and doing a final review to ensure your drawing is perfect.
Adding Shadows
Shadows add depth and dimension to your bird drawing. They make your bird look more realistic. Start by identifying the light source in your drawing. This will help you determine where the shadows should fall.
Use a soft pencil or charcoal to add shadows. Apply gentle, even strokes to build up the shadow areas. Focus on the bird’s wings, body, and beak. These areas usually have more shadows.
Here are some tips for adding shadows:
- Feather Shadows: Add shadows under each feather. This creates a layered effect.
- Body Shadows: Darken the areas under the bird’s belly and tail.
- Wing Shadows: Shade the underside of the wings.
Final Review
After adding shadows, take a step back. Look at your drawing from a distance. This helps you see any areas that need adjustment.
Use an eraser to lighten any areas that are too dark. Add more details to parts that seem flat. Ensure the proportions and angles are correct.
Here is a checklist for your final review:
- Check the proportions of the bird’s body parts.
- Ensure the shadows are consistent with the light source.
- Look for any areas that need more detail.
- Make sure the drawing looks balanced and complete.
By following these steps, your bird drawing will look amazing. Enjoy the process and be proud of your work!
Credit: www.gathered.how
Frequently Asked Questions
How Do You Start Drawing A Bird?
Begin with basic shapes like circles and ovals for the body and head. Then, add details gradually.
What Tools Do I Need To Draw A Bird?
You need pencils, erasers, paper, and colored pencils or markers for adding color.
How Can I Draw Realistic Bird Feathers?
Draw feathers with light, quick strokes. Vary the length and direction to create texture and depth.
Are There Tips For Drawing Bird Wings?
Observe bird wings in flight. Sketch the wing shape first, then add feather details one by one.
Conclusion
Drawing a bird can be simple and fun. With practice, you’ll improve quickly. Remember to observe real birds closely. They inspire better drawings. Use basic shapes as your foundation. Add details gradually. Patience is key in art. Don’t rush the process.
Enjoy each step. Share your work proudly. Practice regularly to refine your skills. Happy drawing!