Drawing Pete the Cat sitting is fun and easy. You only need simple steps.
Pete the Cat is a beloved character in children’s books. Learning to draw him can bring joy to fans of all ages. Whether you’re a beginner or looking to improve your skills, this guide will help. We’ll break down each step, making it easy to follow.
You don’t need fancy tools. Just a pencil, paper, and some colors. Drawing can be a great way to relax and express creativity. So, grab your materials, and let’s get started on drawing Pete the Cat sitting. It’s going to be a fun and rewarding experience!
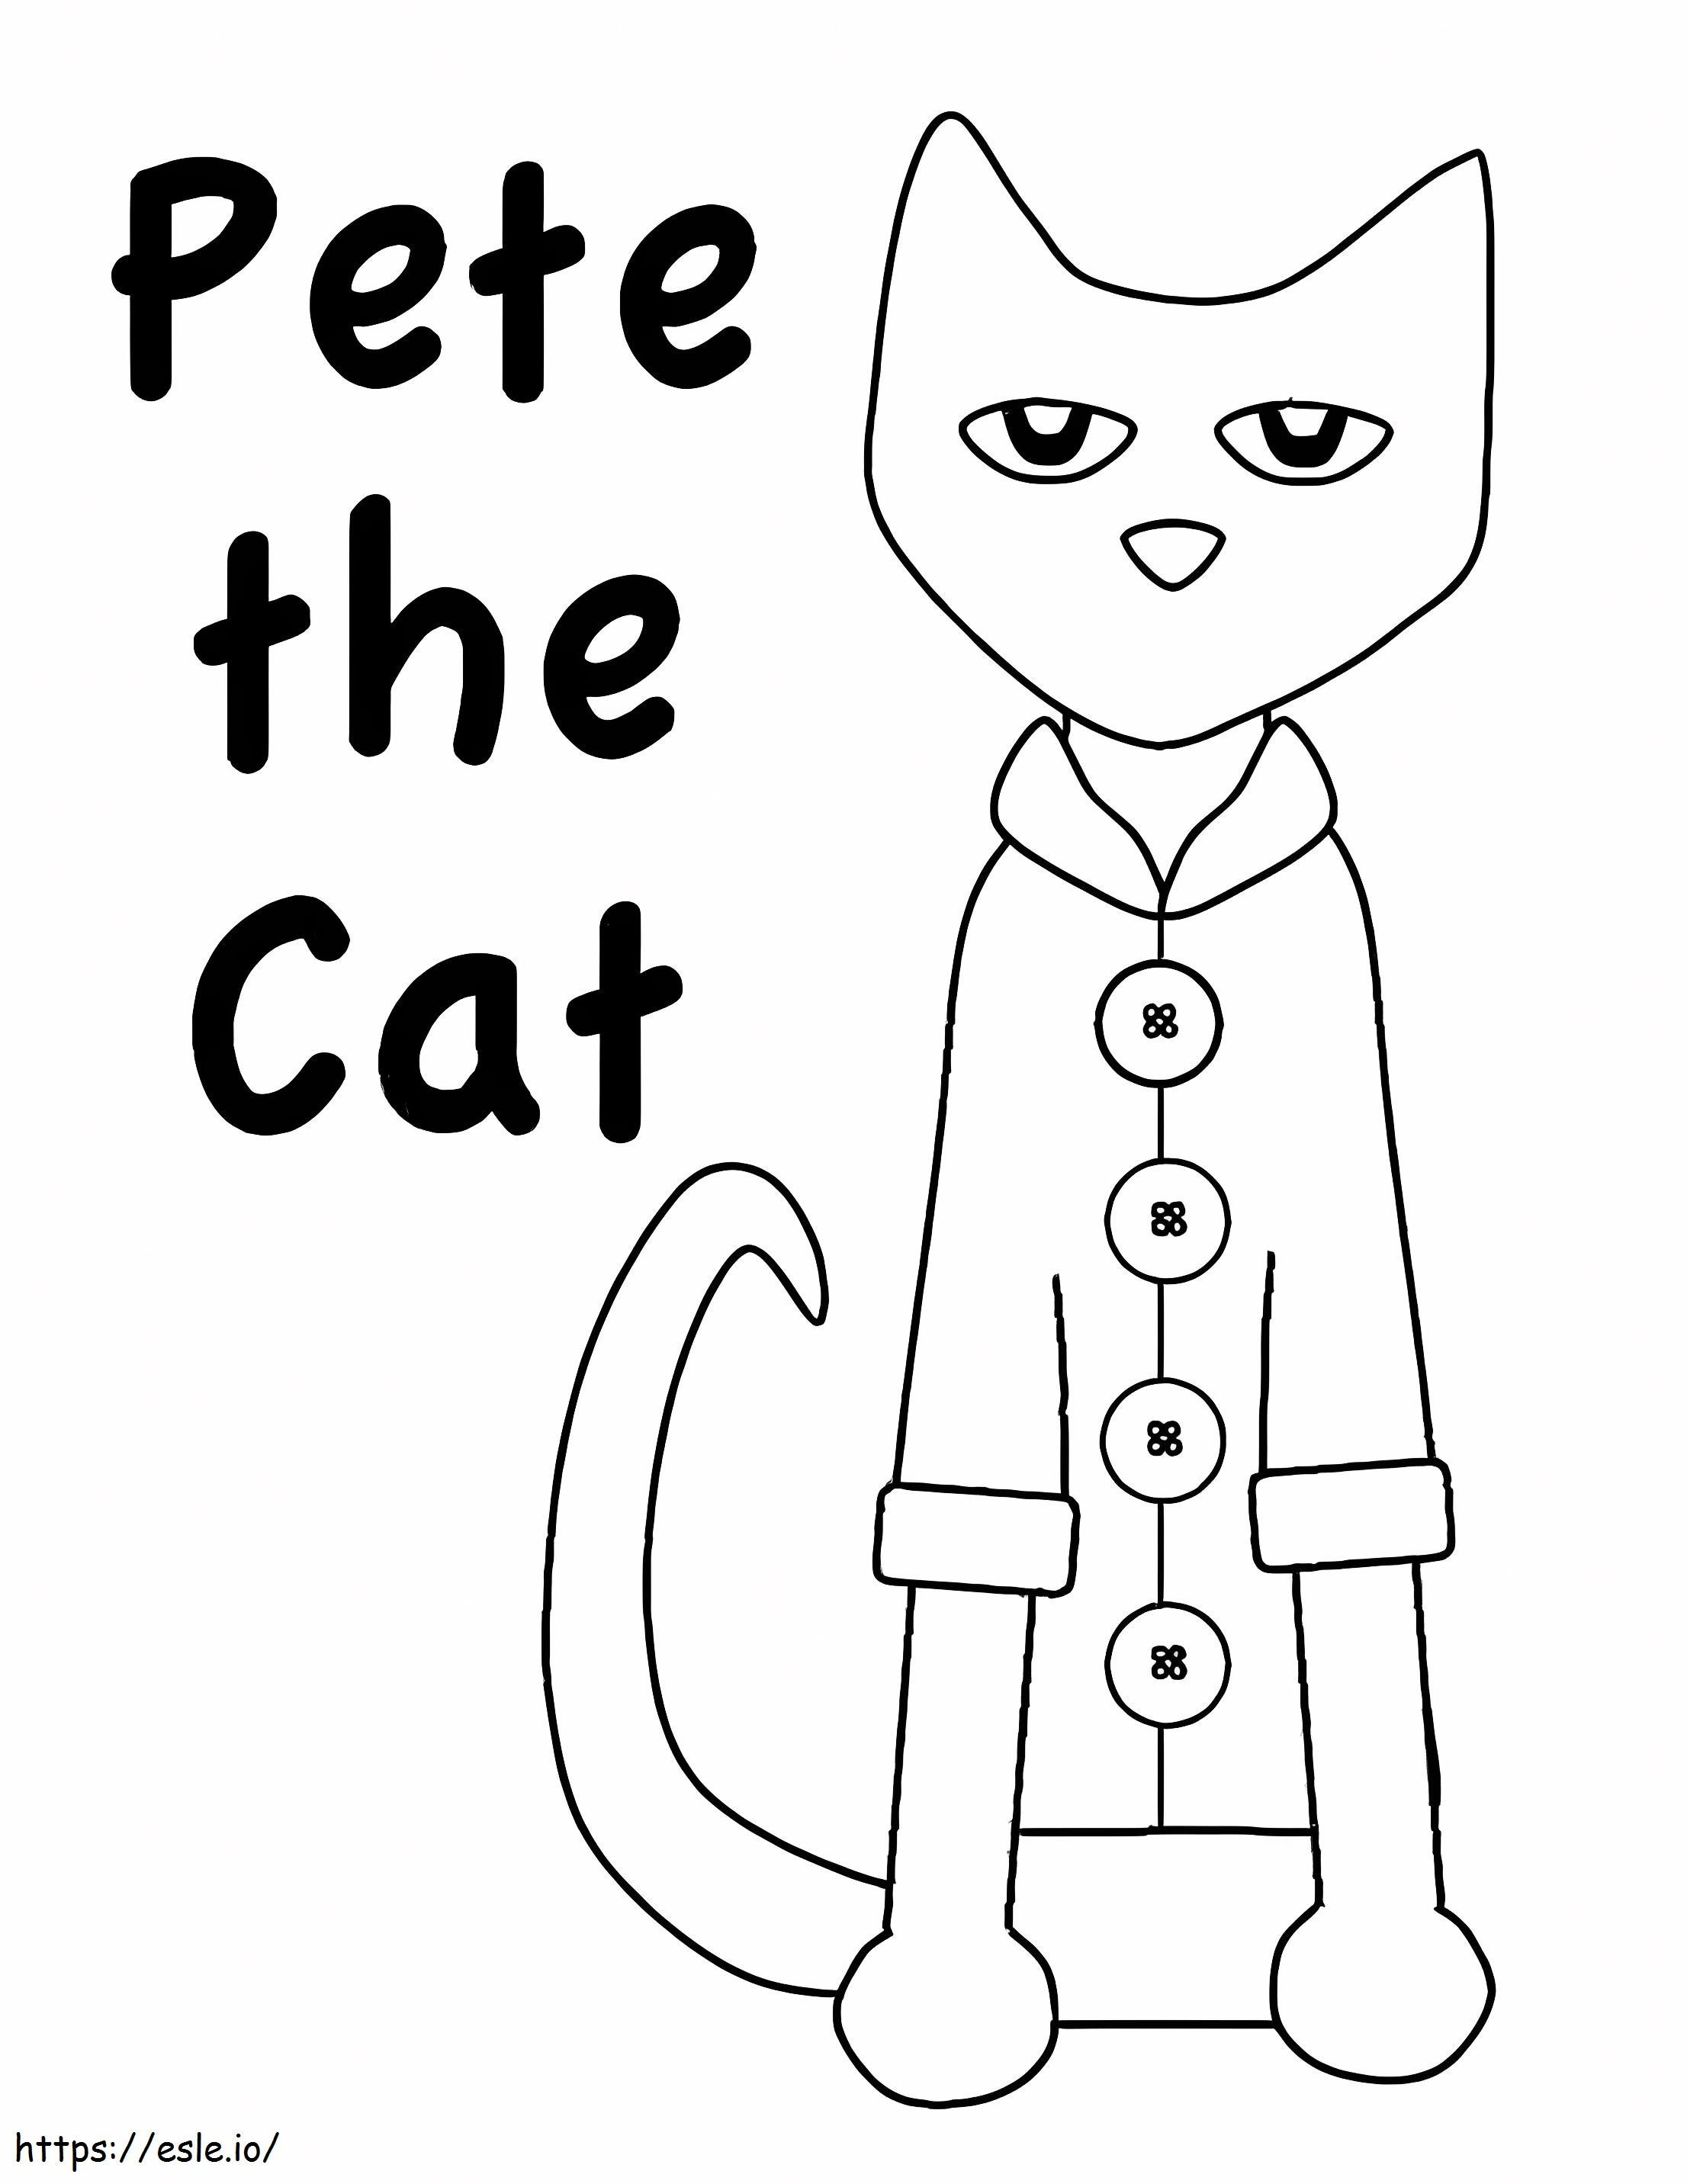
Credit: esle.io
Drawing The Head
Drawing Pete the Cat sitting starts with creating his head. The head is crucial as it sets the tone for the entire drawing. Follow these simple steps to draw Pete’s head with ease.
Basic Shape
Begin with a large oval shape. This will form Pete’s head. Make sure the oval is slightly wider than it is tall. This shape will serve as the base. Draw it lightly so you can make adjustments.
Adding Facial Features
Now, let’s give Pete some character. Draw two large ovals for the eyes. Place them near the top of the head. Make sure they are evenly spaced. Inside each eye, draw a smaller circle for the pupils.
Next, draw Pete’s nose. It’s a simple triangle shape. Place it in the middle, just below the eyes. Don’t forget his mouth! Draw a small curved line under the nose. This will be Pete’s smile.
Finally, add Pete’s ears. Draw two small triangles on top of the head. One on each side. Now, you have Pete’s basic facial features. You can add details to give him more personality.
Drawing The Body
Drawing Pete the Cat sitting can be a fun and rewarding experience. To start, focus on drawing the body. This step is crucial as it sets the foundation for the rest of your drawing.
Outline The Body
Begin by sketching a simple outline. Use light strokes to form a basic shape. This shape will resemble a bean or an oval. Make sure the shape is proportionate. Pete the Cat’s body is slightly elongated, so keep this in mind.
Next, draw a vertical line down the middle of the shape. This line helps to keep the drawing symmetrical. Then, add a horizontal line near the top. This line will guide the placement of Pete’s head.
Defining The Torso
Start by refining the shape of the torso. Pete the Cat has a slender body. Use curved lines to shape the sides. Make sure the curves are smooth and gentle.
Once the torso is shaped, draw the arms. Pete’s arms are thin and slightly curved. They should extend from the top of the torso downwards.
Finally, add the legs. Pete’s legs are short and also slightly curved. They should be positioned at the bottom of the torso. Ensure the legs look natural as if Pete is sitting comfortably.
Here is a simple table to summarize the steps:
| Step | Description |
|---|---|
| Outline the Body | Sketch a bean-shaped outline and add guiding lines. |
| Define the Torso | Shape the torso with smooth curves. Add arms and legs. |
Remember to draw lightly at first. This makes it easier to make corrections. Once you are happy with the body, you can move on to detailing the rest of Pete the Cat.
Drawing The Legs
Drawing Pete the Cat sitting down is fun and easy! The legs are an important part. They give Pete a relaxed and cool look. This section will guide you through drawing the front and back legs of Pete the Cat.
Front Legs
Start by drawing two straight lines from Pete’s body. These lines should be close together. They form the base of Pete’s front legs. Next, add a small curve at the bottom of each line. This represents Pete’s paws.
For a more relaxed look, bend the legs slightly. Add small, rounded shapes at the ends for the paws. This makes Pete look like he is sitting comfortably.
| Step | Description |
|---|---|
| 1 | Draw two straight lines from the body. |
| 2 | Add small curves at the bottom. |
| 3 | Bend the legs slightly. |
| 4 | Draw rounded shapes for the paws. |
Back Legs
The back legs are drawn differently. First, draw a curved line from the back of Pete’s body. This line should be longer. It forms the main part of Pete’s back leg. Then, draw another curve from the end of this line back towards Pete’s body. This creates a loop shape.
Finally, draw small, rounded shapes at the bottom. These represent Pete’s back paws. Make sure the legs look relaxed and natural.
- Draw a long, curved line from the body.
- Make another curve back towards the body.
- Create a loop shape.
- Draw small, rounded shapes for the paws.
Drawing The Tail
Drawing Pete the Cat’s tail is a fun part of creating this beloved character. The tail adds personality and charm. It is simple yet vital for capturing Pete’s unique style. Let’s break it down into manageable steps.
Shape Of The Tail
The tail of Pete the Cat is long and slightly curved. It resembles a thin, elongated “S”. To start:
- Draw a light, curved line.
- Make sure the line is smooth.
- It should taper at the end.
This basic shape sets the foundation. The tail should look flexible and lively. Keep it simple and avoid overcomplicating the shape.
Positioning The Tail
The position of the tail is important for balance and expression. It usually sits to one side. Follow these steps:
- Decide which side the tail will be on.
- Draw it starting from the lower back.
- Angle it slightly upwards.
Make sure the tail flows naturally from the body. It should look like an extension of Pete’s spine. Check the overall balance of your drawing.
By focusing on the shape of the tail and its positioning, you can create a lively Pete the Cat. This part of the drawing brings the character to life.
Adding Details
Adding details to your drawing of Pete the Cat is an exciting step. This stage brings your character to life. Focus on the eyes, nose, mouth, and whiskers. Each small detail makes a big difference.
Eyes And Nose
The eyes are the windows to Pete the Cat’s personality. Draw large, almond-shaped eyes. Leave space at the top for his eyebrows.
Next, draw his nose. Place it right below the eyes. It’s a simple triangle. Keep it small and centered.
| Step | Instructions |
|---|---|
| 1 | Draw two large, almond-shaped eyes. |
| 2 | Add a small triangle for the nose. |
Mouth And Whiskers
Now, let’s add Pete’s mouth. Start with a gentle curve below the nose. Make sure it reaches the edges of his face.
Next, draw his whiskers. Add three lines on each side of his face. Make them long and thin.
- Draw a gentle curve for the mouth.
- Add three long whiskers on each side.
These details make Pete the Cat look more real. Practice them to get better each time.
Coloring Pete The Cat
Coloring Pete the Cat can be a fun and creative experience. With the right colors and techniques, you can bring your drawing to life. Follow these steps to make sure Pete the Cat looks vibrant and true to his character.
Choosing Colors
Start with Pete’s iconic blue fur. Use a medium to dark blue for his body. His face, ears, and paws should be the same shade. Pete’s eyes are yellow with black pupils. For his nose, use a small triangle of black. Don’t forget his whiskers; they should be black as well.
For Pete’s clothes, choose bold colors. He often wears a red or yellow shirt. His shoes can be any color, but red or yellow are great choices. These colors will make Pete stand out and look cheerful.
Coloring Techniques
To give Pete a smooth look, use long, even strokes. Start from the top and move downwards. This helps in covering the entire area evenly. If you want a more textured look, use short, quick strokes. This can add a bit of fluffiness to his fur.
For his eyes, color the yellow parts first. Then carefully add the black pupils. Use a steady hand to keep the lines clean. For his clothes, keep the strokes in the same direction. This will make the colors look even and neat.
Adding small details can make a big difference. Use a lighter blue to add highlights to his fur. This gives a sense of depth. For his clothes, add small folds or wrinkles. This makes them look more realistic.
Final Touches
Final touches are crucial in making your drawing of Pete the Cat look complete. Paying attention to these details can transform your artwork from good to great. This section will guide you through the final steps to ensure Pete the Cat looks perfect.
Review And Adjust
Take a moment to review your drawing. Look at Pete the Cat’s eyes, nose, and mouth. Ensure they are aligned and proportional. Check the lines and shapes for any errors.
- Erase any unnecessary lines.
- Darken the important lines.
- Smooth out rough edges.
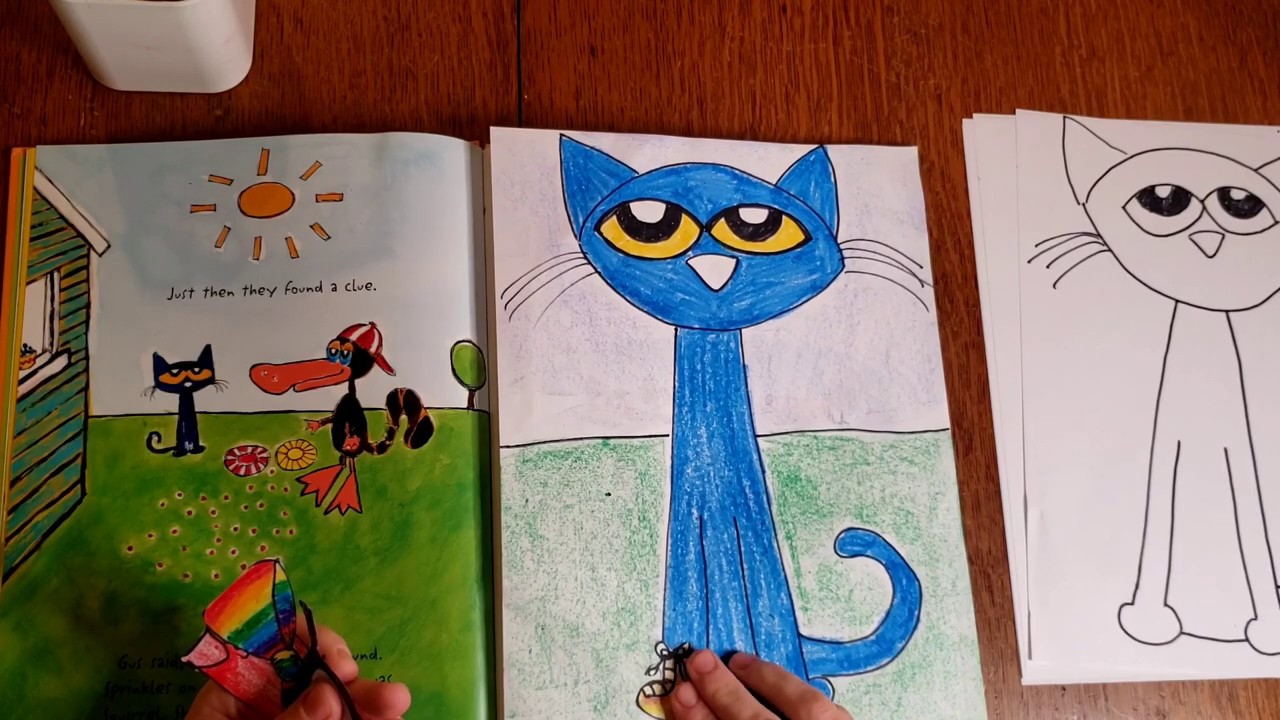
Compare your drawing with the reference image of Pete the Cat. Make any needed adjustments. This step is essential for achieving accuracy and improving the overall look of your drawing.
Adding Background
Adding a background can give context to your drawing. Think about where Pete the Cat is sitting. Is he in a classroom, a park, or at home?
Here are some simple ideas for backgrounds:
| Location | Elements to Add |
|---|---|
| Classroom | Desks, books, a blackboard |
| Park | Trees, grass, a bench |
| Home | Rug, furniture, toys |
Use light pencil strokes to sketch the background. Once satisfied, outline with a darker pencil or pen. Be careful not to overshadow Pete the Cat with too much detail in the background.
By following these steps, your drawing of Pete the Cat will be complete, polished, and visually appealing. Enjoy the process and be proud of your artistic creation.

Credit: www.pinterest.com

Credit: de.pinterest.com
Frequently Asked Questions
What Materials Do I Need To Draw Pete The Cat?
You will need paper, pencils, erasers, colored pencils or markers, and a reference image.
How Do I Start Drawing Pete The Cat?
Begin by sketching a basic outline of Pete’s body using simple shapes.
How Can I Draw Pete The Cat’s Face?
Focus on drawing big eyes, a small nose, and a wide smile for Pete’s face.
What Colors Should I Use For Pete The Cat?
Use blue for Pete’s body, yellow for his eyes, and red for his shoes.
Conclusion
Drawing Pete the Cat sitting is fun and easy. Follow the steps outlined. Practice regularly to improve your skills. Keep your lines smooth and steady. Use reference images for guidance. Share your drawings with friends and family. Enjoy the creative process.
Drawing can be relaxing and rewarding. Continue exploring other characters too. Happy drawing!